- Home
- About TKL
- Factory Tour
- Products
- Blog
- Contact Us

CONTACT
Leave Your Message
CONTACT
Choosing Pipe Elevators in 2026 is not just a matter of matching a tool to a pipe diameter. The elevator must suit the tubular’s weight, connection profile, handling method, and the rig’s operating conditions. A mismatch can complicate a lift before the pipe even leaves the rack. Small details matter.
Industry references help frame the decision. API Specification 8C sets requirements for drilling and production hoisting equipment, making it a useful starting point when reviewing design and manufacturing information. Baker Hughes’ International Rig Count provides a regular view of global drilling activity. It does not measure elevator demand or tell buyers which model to select, but it offers context for changing operational needs. Treat those sources as guidance, not a substitute for checking the equipment itself.
In practice, compare the rated load with the intended tubular and the full lifting arrangement—not just a product-page headline. Confirm the bore, latch and hinge design, handling method, inspection records, and compatibility with existing rig equipment. Fit is not capacity. Ask the manufacturer or a qualified lifting-equipment specialist to verify the selection against current specifications and site procedures. A catalog can make this look simpler than it is; I would not rely on a single dimension to settle the choice. This guide explains what to check, which trade-offs deserve attention, and how to choose Pipe Elevators with safety, traceability, and real-world handling in mind.
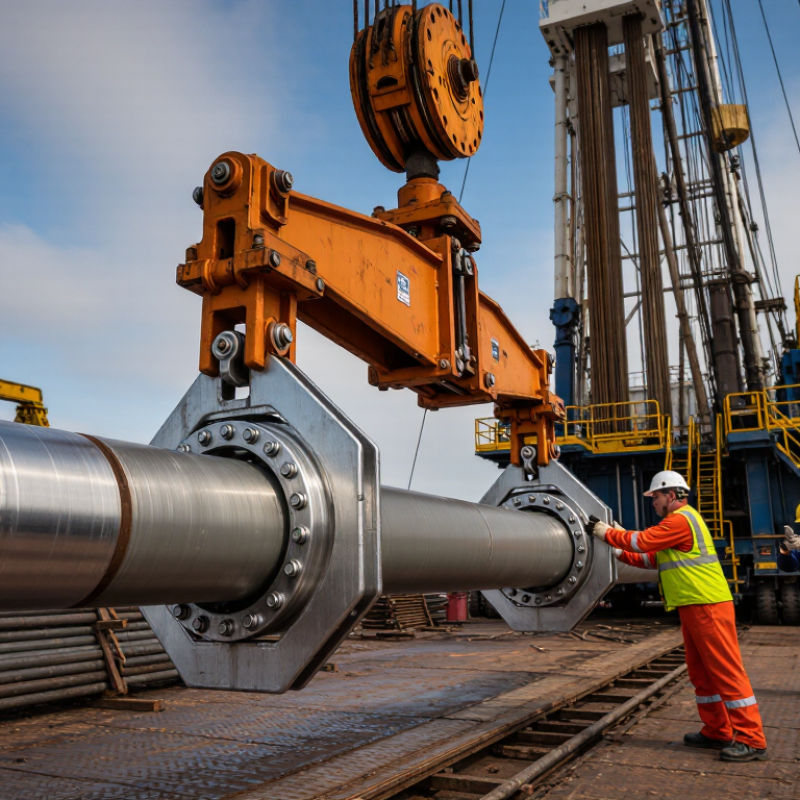
How to Choose Pipe Elevators in 2026
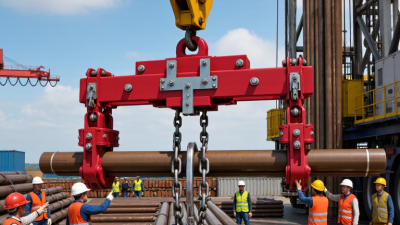
Pipe elevators grip and suspend tubulars during lifting, lowering, and connection work. Choose by pipe type and end profile, not tonnage alone. Slip-type models support pipe through inserts; side-door and center-latch designs suit different handling sequences. Drill-pipe, tubing, and casing elevators are not automatically interchangeable. Small differences in upset diameter or shoulder shape can prevent secure engagement.
Match rated capacity, pipe outside diameter, latch style, and contact profile to the actual string. API Specification 8C provides a recognized design and testing framework for hoisting equipment. IOGP’s 2022 Safety Performance Indicators report recorded 31 fatalities across member-company operations. The figure is not elevator-specific, but it underscores the importance of disciplined lifting controls. On paper, the load table looks simple. It rarely is.
Tips: Check the elevator’s identification plate against the pipe tally. Inspect hinges, inserts, and latch engagement before use. Verify inspection status, and don’t assume a familiar elevator fits a different pipe upset.
| Elevator Type | How It Supports the Pipe | Typical Applications | Operational Characteristics | Key Selection Checks |
|---|---|---|---|---|
| Center-latch elevator | Hinged sections close around the tubular and support it at the specified shoulder or upset. | Commonly used for drill pipe and other tubulars with a compatible shoulder or upset. | The center-latch arrangement opens around the pipe for connection and disconnection. The latch must be fully engaged before lifting. | Confirm the tubular size, shoulder geometry, rated load, latch condition, and compatibility with the pipe’s tool joint or upset. |
| Side-door elevator | A hinged door closes around the tubular; the design supports the load at its intended shoulder or contact point. | Used for handling compatible drill pipe, tubing, and other tubulars, depending on the elevator’s design and rating. | The side opening allows the tubular to enter from the side. The door and locking mechanism must be fully closed and secured before hoisting. | Check the tubular outside diameter, shoulder or coupling fit, latch engagement, rated load, and whether side loading suits the rig’s handling procedure. |
| Slip-type elevator | Segmented slips grip the pipe body and transfer the load through the elevator body. | Often selected for casing or tubing configurations where support on the pipe body is required or a suitable coupling shoulder is unavailable. | Grip depends on the correct slips and properly prepared contact surfaces. Slips must be installed, seated, and inspected as specified for the equipment. | Verify pipe outside diameter, slip compatibility, rated load, condition of gripping surfaces, and the manufacturer’s requirements for the tubular material and finish. |
| Collar-type elevator | Supports the tubular beneath a coupling, tool joint, or other specified shoulder rather than gripping the pipe body. | Used with drill pipe, tubing, or similar tubulars that have a compatible external shoulder or collar. | Provides positive shoulder support when the tubular and elevator profiles match. It is not suitable for a tubular lacking the required supporting feature. | Match the elevator profile to the shoulder dimensions; confirm pipe size, coupling or tool-joint clearance, load rating, and secure closure. |
| Tubing elevator | May support tubing at a coupling shoulder or grip it with a designated slip arrangement, depending on the model. | Handling tubing during running, pulling, and workover operations when the elevator is designed for the tubing connection and size. | “Tubing elevator” describes an application category, not one single latch or load-support design. Models may use different opening and support arrangements. | Check tubing size and connection type, support method, rated load, operating clearances, and compatibility with the planned handling sequence. |
| Casing elevator | Typically supports casing at a coupling or uses a purpose-designed slip system, depending on the casing elevator design. | Handling casing strings during installation, retrieval, or related well operations. | Large tubular dimensions and heavy suspended loads make correct sizing, secure engagement, and coordinated handling essential. | Confirm casing outside diameter, coupling or slip arrangement, rated load, equipment condition, and compatibility with the casing-handling procedure. |
Selection note: Always use an elevator rated for the planned load and compatible with the exact tubular size, connection, and support method. Inspect the elevator, latch, hinges, and any slips before use, and follow the equipment manufacturer’s instructions and the site’s lifting procedures.